
Jul 21, 2015
Hi Kids, welcome back for another thrilling, and hopefully edifying, blog post.
You may recall that I wrote a blog a little while ago about creating a database using Microsoft Azure SQL Database. Did you read that one? If not, here it is. Well, I was thinking about that blog and thought “You know what? I bet people would love to see a visual guide to setting up a database in MASD.” So, here it is.
Firstly, you'll need an Azure account. Don't have one? No problem. Go here to sign up for a free trial. Now, they will ask for a credit card, but you needn't worry that they'll charge you at some point in the future (unlike those dodgy ads where you get something for free, just give us your credit card details and we'll charge your card monthly forever.) They won't charge you. I should know, I've used many different email addresses to sign up for quite a few trials over the last few years. So go and get an Azure account now… I'll wait…
Goodo, you're all set with your Azure account, I want you to sign in to the portal with it. The URL is portal.azure.com.
This is what it should look like (this week at least… Azure is rapidly evolving technology, the interface changes to reflect this.)
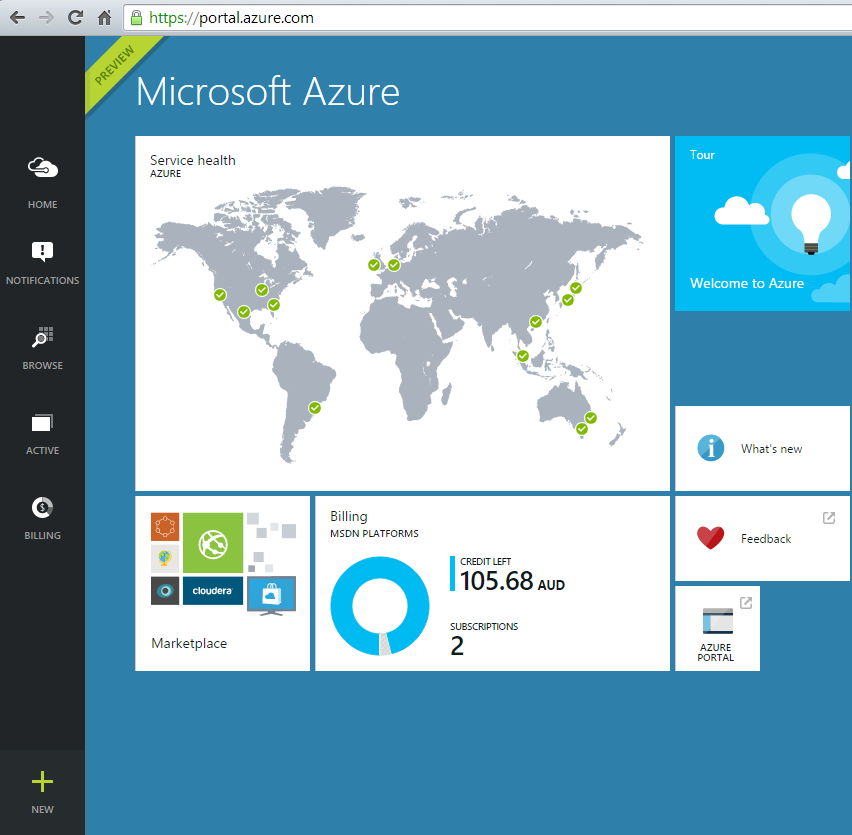
Alrighty, at this stage I'm going to ask you to click the big green + at the bottom left of the page, thanks. You should now be looking at a screen like this:
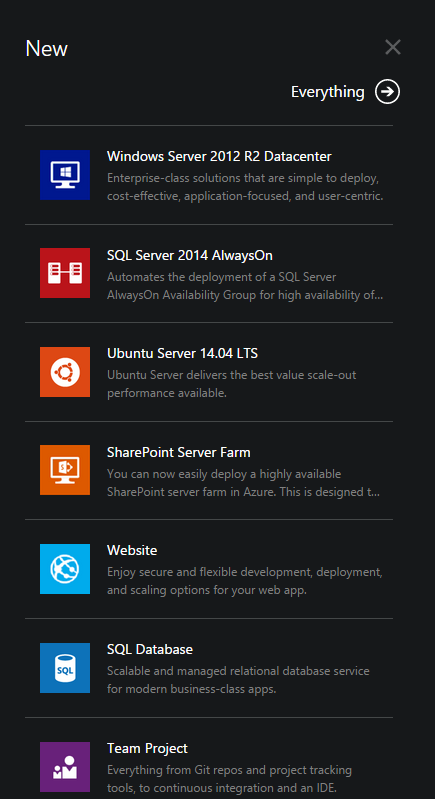
Fantastic! You should explore all the things you can create using your Azure account (click Everything at the top), there's a lot of REALLY interesting things here. Now click on SQL Database and that'll bring up a screen that should look remarkably like this one:
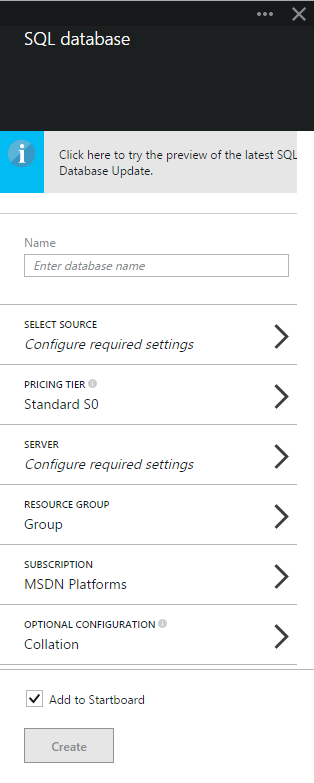
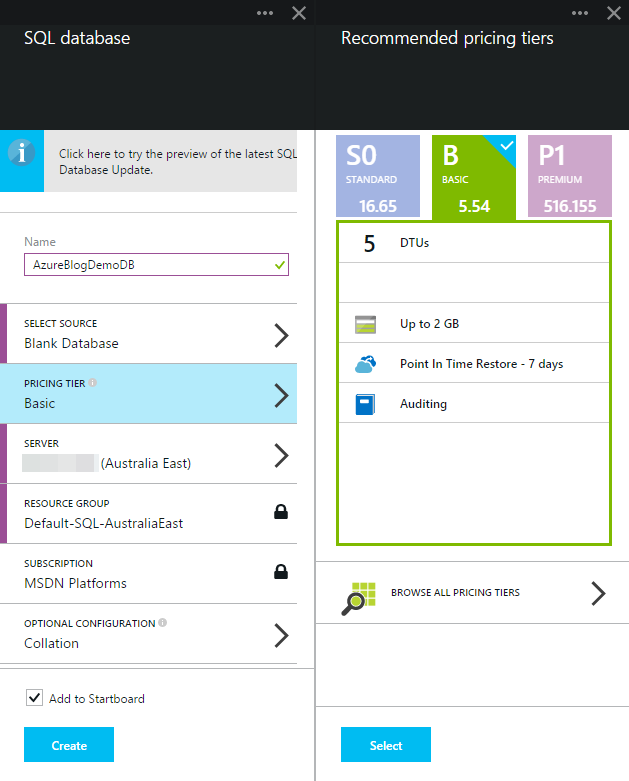
Now, give your database a name and click on the Select Source to choose what sort of database you want to start with. I named my database AzureBlogDemoDB and chose a blank database. It'll look something like this:
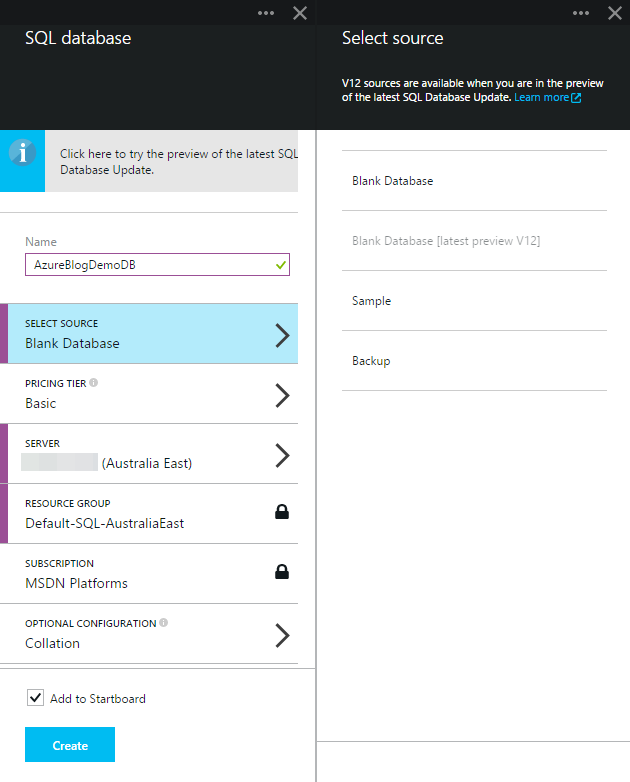
Now, you'll want to decide on the Pricing Tier, I chose the Basic Tier which gives me 2GB of space. Your screen should look a little (or a lot) like this:
Next, you'll choose the server. If you've already been mucking around with Azure you may already have a server, in fact I've used an existing server myself, but if you're new to this, and that's the point really, you would select “Create a new server” and you would see this:
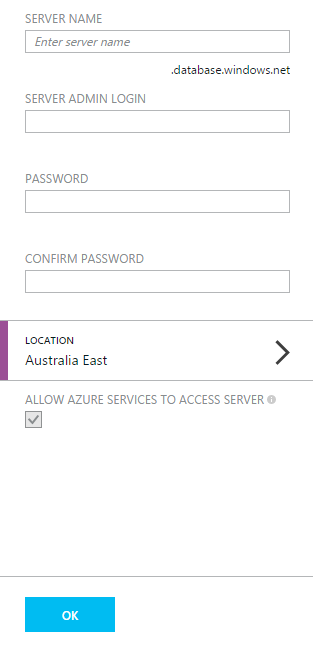
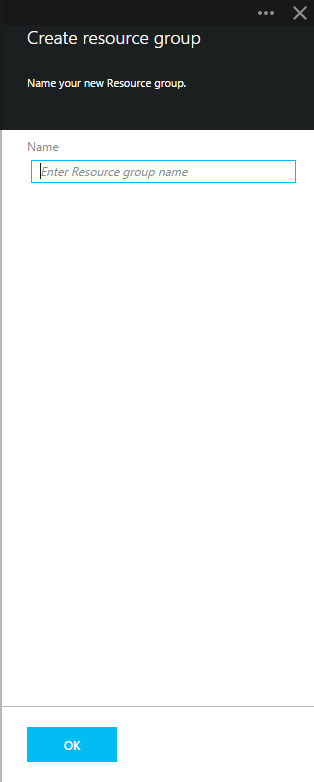
You'll notice that I've preselected the Location to show you that we now have two operational Microsoft data centres (Australia East and Australia Southeast). Woohoo! You can fill in the other details, there's nothing complicated there. The next thing to configure is the Resource Group, and again, you can use an existing one or create a newie for yourself. I've used an existing resource group, but the Create resource group looks like this:
The Optional Configuration at the bottom will allow you to set the Collation. So now you're pretty set, time to click Create. Go on, do it. You will be returned to your portal home and you should see an icon that looks somewhat like this:
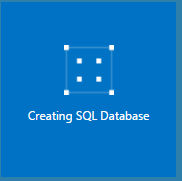
This'll hang around for a little bit then finally you'll be presented with an icon that looks like this:
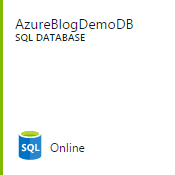
Ta Da! You're done. You've just created your very first Microsoft Azure SQL Database. Aren't you pleased? Excellent work.
But wait, there's more. Do you remember the name of your server? Okay, open up SQL Server Management Studio (SSMS) and put in your server name (remember it's in the form abcd1234.database.windows.net), choose SQL Authentication and type in your admin login and password (you did this when you created your server). Et voila! You should now see your server in Object Explorer on the left side, expand that and you'll find your database. Amazing, what'll they think of next?
Have fun exploring the Azure portal, it's a bit like playing Disney Infinity, the possibilities are endless and it looks really cool too.
Catch you later – Cheers – Adam
How do your Excel skills stack up?
Test NowNext up:
- Extroverts versus Introverts; does it matter?
- Creating a chart with a secondary axis
- Create Documents Archive Repository in SharePoint 2013
- Unlinking A Pivot Table From Its Source Data
- Connector Enhancements in Office 365
- Good news…about delivering bad news!
- Introducing Windows 10!
- Excel – Fill in the Blanks
- Easily Create Complex Illustrations with Basic Tools and Pathfinder Commands in Adobe Illustrator
- The Many Flavours of Windows 10
Previously
- Adobe Acrobat Custom Stamps
- Introducing PowerShell for Office 365!
- Recording Screen Action in PowerPoint 2013
- What Sort of Leader are You?
- Creating a storage account and container in Windows Azure
- Selecting Text in Microsoft Word
- Implementing live tiles in a Windows Store App
- Using conditional formatting to highlight weekend dates in Excel
- Staff Retention
- Autofill to the Last Row Using VBA


