

Jul 20, 2015
Adobe Acrobat offers the option to stamp an electronic document in much the same way as you might apply a rubber stamp to a paper document. You can choose from a list of built-in stamps, or you can create your own stamps. Some stamps are dynamic, these stamps obtain information from your computer and the document preferences, and can automatically include information like name, date, and time.
Locate the Stamps Palette
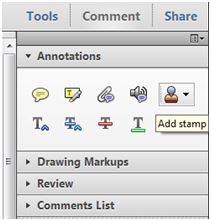
To view the stamp tool, open the Comments panel on the right hand side. The Stamp tool appears in the Annotations panel by default. Click on the stamp icon to apply a stamp or create a custom stamp.
Apply a stamp
Click the Stamp tool. The most recently used stamp can be immediately selected or In the Stamps Palette, choose a category from the menu, and then select a stamp.
Click in the document where you want to place the stamp, or drag a rectangle to define the size and placement of the stamp. (The stamp can be moved and resized after being placed in the document.)
If you haven’t provided a name in the Identity preferences, the Identity Setup dialog box prompts you to do so, enter the appropriate information.
To delete a stamp, right-click the stamp and choose Delete.
Create a custom stamp
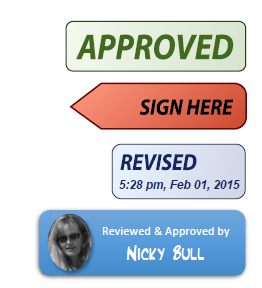
Create the stamp in any authoring program, this can be Word, PowerPoint, Adobe Illustrator, Adobe Photoshop etc. The example here was created in a word document using a shape, a picture and a text box.
Save the document as a PDF (do not be concerned if there is a lot of white space this will be removed automatically when the stamp is created.
Choose Comment > Annotations > Stamps > Custom Stamps > Create Custom Stamp.
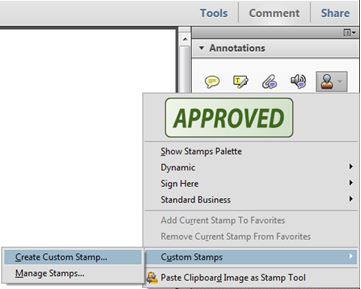
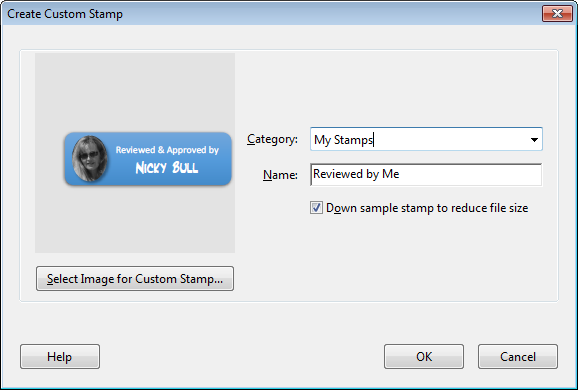
Browse to the PDF you have created with the stamp and press OK. The Create Custom Stamp dialog will appear. In the Category box, either select one of the existing categories or type in the name of a new category. In the name box enter a name for your stamp and then press OK.
Your new stamp will now appear in the selected category and can be applied like any other stamp
.Manage Custom Stamps
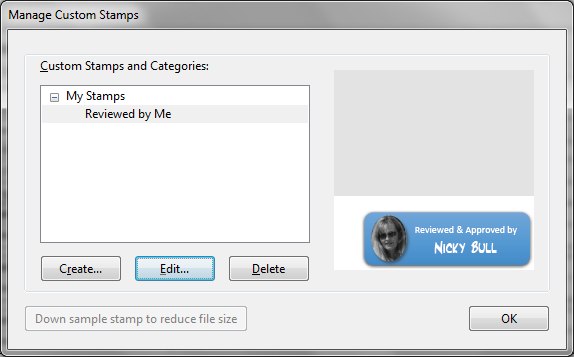
To delete, change the category or the name of a custom stamp choose Comment > Annotations > Stamps > Custom Stamps > Manage Stamps.
The Manage Custom Stamps dialog will display, and from here you can delete a custom stamp or change the name or category.
How do your Excel skills stack up?
Test NowRelated Articles


About the Author:
Nicky Bull

Nicky started her professional life over 19 years ago in the IT industry. Through the initial years of her career, she worked in the areas of software development & project management for some of the leading organisations in South Africa and U.K. Over the past 6 years, Nicky has been working as a Desktop Applications trainer, delivering courses to both corporate as well as government organisations across the entire Microsoft Office suite. Her approach to training delivery is very pragmatic and she finds immense fulfilment in her ability to assist other people with their growth and development.
Read full bio


Next up:
- Visual creation of a Microsoft Azure SQL Database.
- Extroverts versus Introverts; does it matter?
- Creating a chart with a secondary axis
- Create Documents Archive Repository in SharePoint 2013
- Unlinking A Pivot Table From Its Source Data
- Connector Enhancements in Office 365
- Good news…about delivering bad news!
- Introducing Windows 10!
- Excel – Fill in the Blanks
- Easily Create Complex Illustrations with Basic Tools and Pathfinder Commands in Adobe Illustrator
Previously
- Introducing PowerShell for Office 365!
- Recording Screen Action in PowerPoint 2013
- What Sort of Leader are You?
- Creating a storage account and container in Windows Azure
- Selecting Text in Microsoft Word
- Implementing live tiles in a Windows Store App
- Using conditional formatting to highlight weekend dates in Excel
- Staff Retention
- Autofill to the Last Row Using VBA
- Display the message “Tasks due shortly” in Project
