

Aug 20, 2015
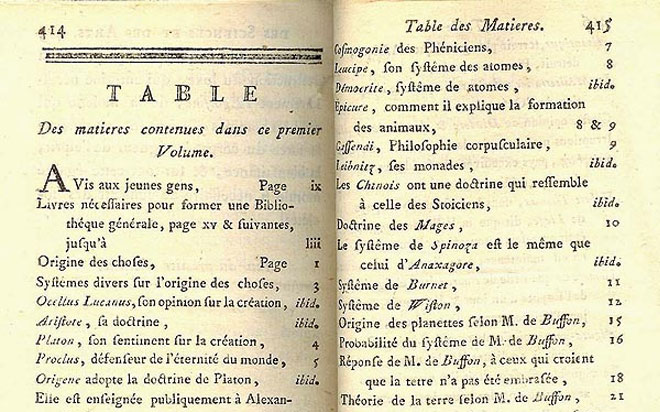
A lot of larger documents (and even some smaller ones) require a table of contents so that readers can more easily locate the information they need. Manually creating one however can be very time consuming and then it may need to be updated as content changes. Fortunately, InDesign provides a way of automating the creation of a contents page and gives you control over what is included and how it is presented. In the next few steps we will look at how to quickly create a table of contents in InDesign. (This tutorial was created using CS5, but will work just as well for CS4, CS6 or CC.)
1. Add Styles
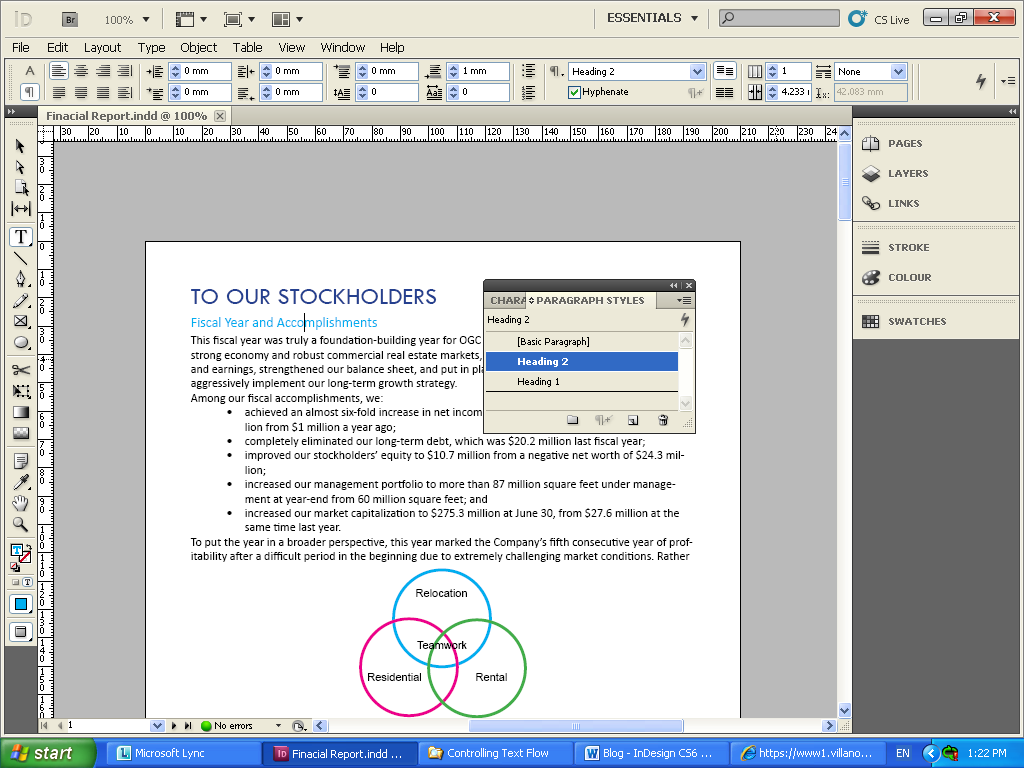
The way InDesign understands anything about the structure of a document is through the use of Styles, therefore before we can do anything with the contents page we must ensure we have added correct and consistent styling to all headings and sub-headings that we’d like to see appear in the contents page.
Text styles are pre-sets for determining how text will look and behave, they come in two flavours: character styles and paragraph styles. Character styles can be set for attributes like font, size, colour and only affect the selected text characters when applied. Paragraph styles include character style attributes as well as alignment, line spacing and other paragraph attributes; they are applied to the whole paragraph (even if only part of it is selected).For the purpose of our Table of Contents we will need to create and apply paragraph styles.
To do this:
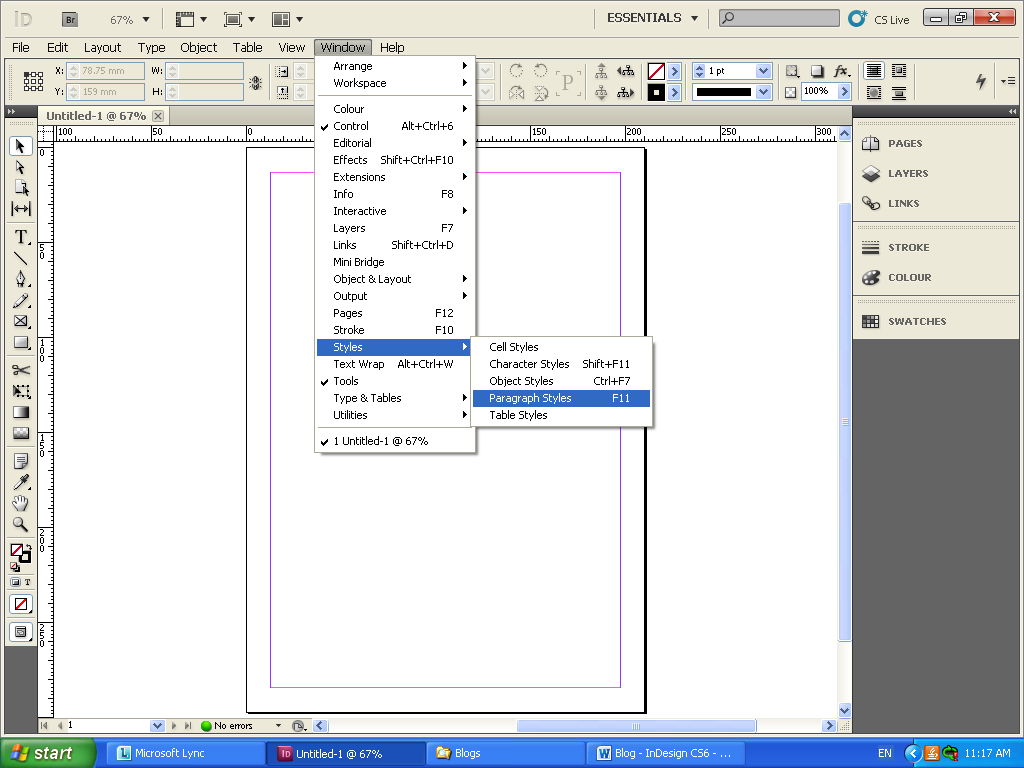
1. Open up the styles panel by going to the Windows menu, selecting Styles and Paragraph Styles (or press F11). If styles have already been used to format headings proceed to step 6.
2. Locate a heading that you would like to see appear in the table of contents and double-click somewhere on it, so that the I-beam is blinking somewhere in the text.
3. In your Paragraph Styles panel, click on the Create New Style button at the bottom of the panel and a new style called Paragraph Style 1 will appear.
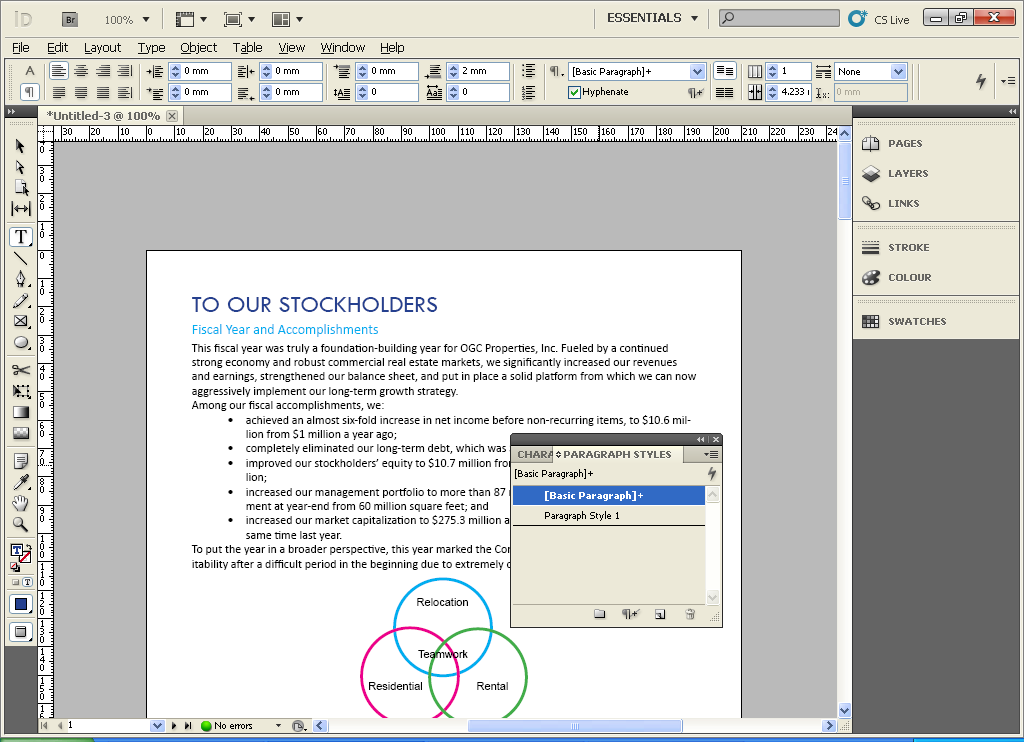
4. In the Styles panel, double click the new style and rename it something sensible like Heading 1 and press OK. Repeat the process for any subheadings you want to include.
5. Ensure that the styles you have created are applied to all relevant headings. To apply a style, click somewhere in the text and select the style from the paragraph styles panel.
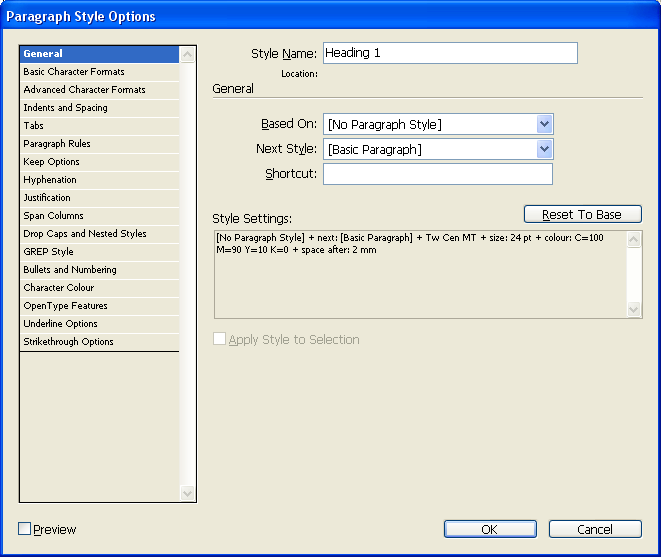
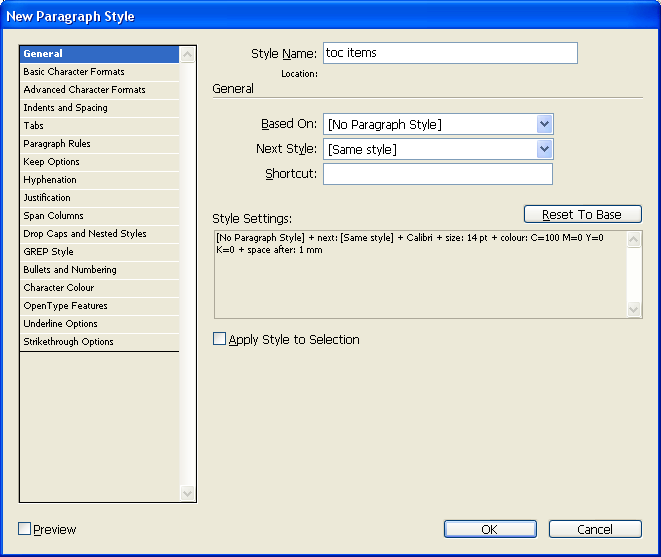
6. Before we can create the table of contents we will need one last style to display the table itself. In the paragraph styles panel click on the menu options (top right corner) and select New Paragraph Style. A dialog will pop up, enter a name for the style, and next to Based On select “No Paragraph Style”.
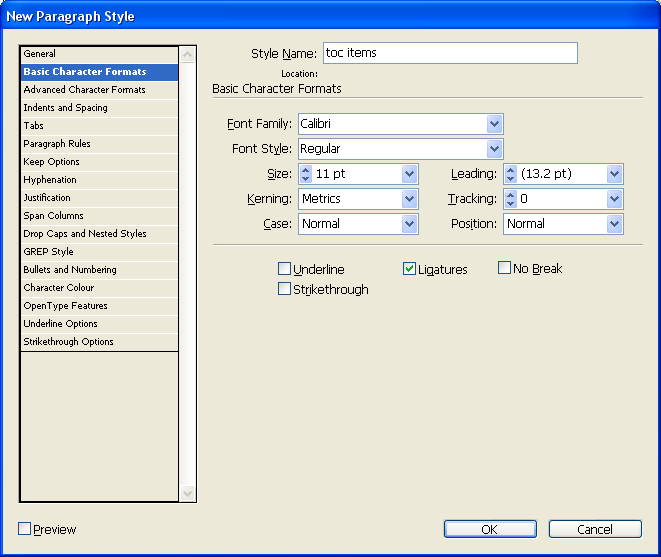
7. Select Basic Character Formats from the left panel and specify what font, style size etc. you would like to use in your table of contents.
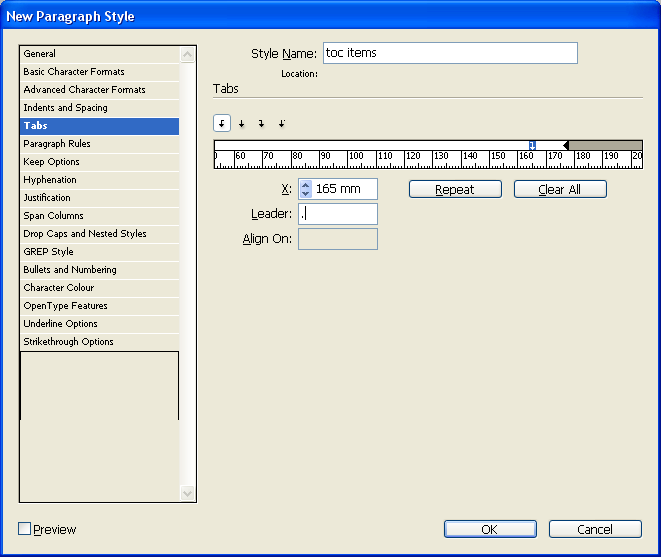
8. Next, select Tabs from the left panel. Click on the Right Align tab stop and then click on the ruler to show where the page numbers should go (somewhere near the right edge). You can also specify a leader like “.” which will put a series of dots between the item description and page number. Click OK.
2. Create the Table of Contents
Once all the styles have been created and applied you are ready to create a table of contents. This can be done for a single document or a book.
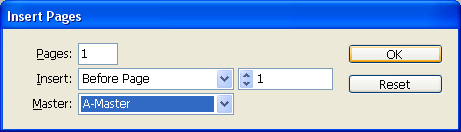
1. Insert a blank page at the start of the document by going to the Layout Menu > Pages > Insert Pages and changing the options to Insert Before Page 1. Click OK.
2. Navigate to the new blank page. From the Layout menu select Table of Contents… to open the TOC dialog.
3. In the Title Box leave as Contents or replace with your preference like “Table of Contents”. Next to Title select a style for the title, this can be the same as other main headings or a completely different style, I have simply used Heading 1.
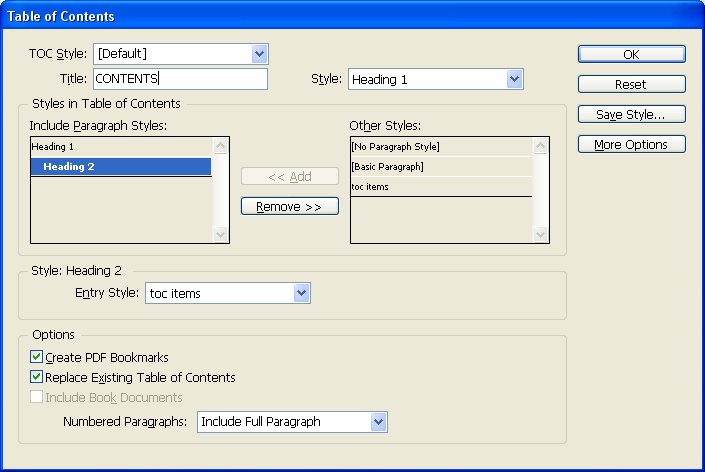
4. From the Other Styles panel select the style(s) for the headings you wish to see included in the contents page and click the Add button to move them to the Include Styles panel. In this example we have used Heading 1 and Heading 2.
5. For each included paragraph style specify the Entry Style, in other words how to represent it in the TOC. I have used the style we created earlier (toc items) for both, but you could create separate styles for each, maybe adding an indent for sub-headings.
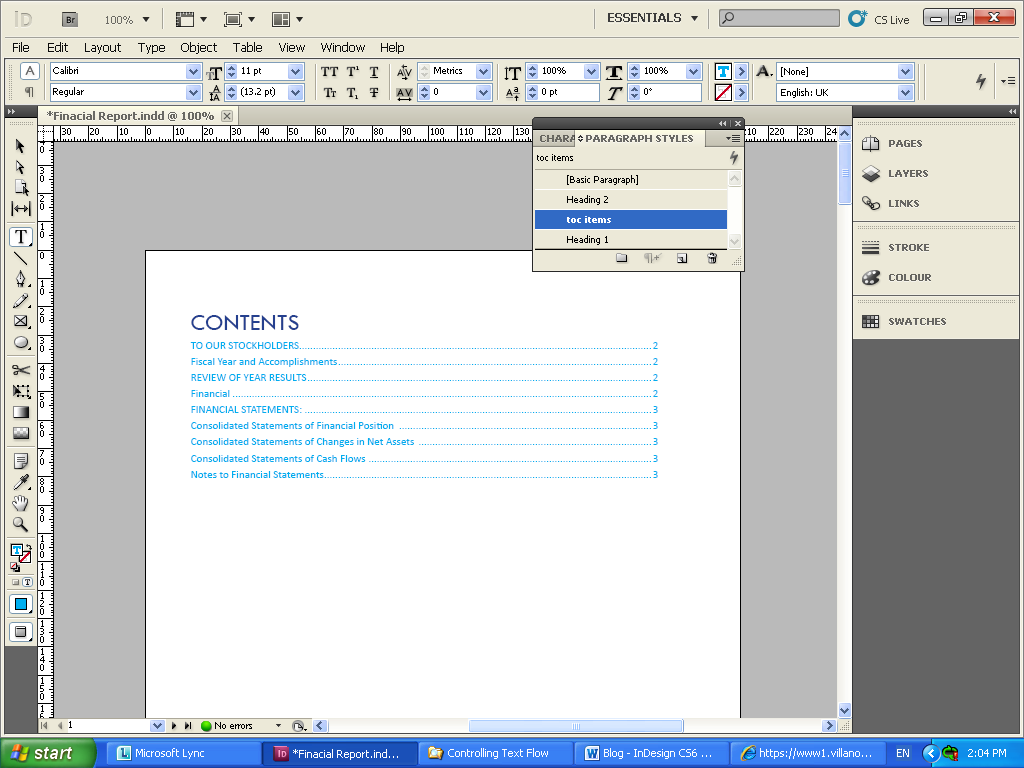
6. Click OK. You will notice your cursor is loaded with the new table of contents, simply click in the page to place it.
7. To edit or update the TOC, simply go back to Layout > Table of Contents, make any necessary modifications and click OK and the TOC will be updated.
So to recap, create your styles, apply them to all items you wish to see included in the table of contents. Create a style to display the table of contents and then quickly use the Table of Contents option from the Layout menu to create and update your TOC.
Easy and so much quicker than doing it manually! For more information, have a look at New Horizons' Adobe InDesign training courses.
How do your Excel skills stack up?
Test NowRelated Articles


About the Author:
Nicky Bull

Nicky started her professional life over 19 years ago in the IT industry. Through the initial years of her career, she worked in the areas of software development & project management for some of the leading organisations in South Africa and U.K. Over the past 6 years, Nicky has been working as a Desktop Applications trainer, delivering courses to both corporate as well as government organisations across the entire Microsoft Office suite. Her approach to training delivery is very pragmatic and she finds immense fulfilment in her ability to assist other people with their growth and development.
Read full bio


Next up:
- Implementing and administering AD RMS
- Multiple Desktops in Windows 10
- Easily sample and transfer colours between objects in InDesign
- Guidelines for Effective Time Management
- Rounding Numbers in Excel, Part 1
- Show Excel Chart in SharePoint 2013
- Creating Labels in Microsoft Word
- Using the WebView Control in Windows Apps
- Dinosaur or Mega-Soar
- Word Equations
Previously
- 5-steps to conducting quality feedback sessions
- Create a Custom Tracking View in Project 2013
- Exchange Online Protection and Evolution
- Excel – Weighted Average Calculation
- Remote Events in SharePoint 2013
- How do you honk?
- Spellcheck and custom dictionaries in Microsoft Word
- The grid system of Bootstrap
- Dude, Where’s My Ruler?
- “Hey, Cortana”
