


Sep 12, 2016
Integrate your source control from Github to Azure.
Nowadays, when we are developing web applications, we tend to use repositories such as those provided by GitHub. When using these repositories, our source code is being controlled by GitHub, which means it is safe and we have versioning on it. But, after you have committed your code to GitHub it still hasn’t been published to the server (in our case Azure) to be hosted as a live site.
To deploy your site to a live version you can either do it manually in a variety of ways or set up your Azure web app to pull it from a GitHub branch automatically. By doing this you are integrating your source control into your Azure platform, this has support for multiple providers that can store source code; such as DropBox, BitBucket, CodePlex and a few more.

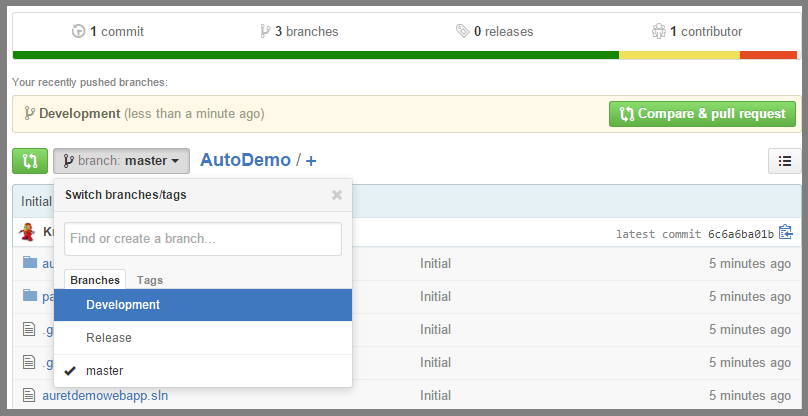
To perform this with GitHub we need to check that we have the necessary branches in our repository, as we would be assigning one of these to act as the branch to be automatically published.
In my case, I have a Development branch and a Release Branch. The Release branch will be used for the auto publishing and the Development Branch is used for coding.
To be able to use this integration of source control we need to make sure we have a Web App in our Windows Azure environment. In this case we are using a newly created web app called ‘auretautodemo’.
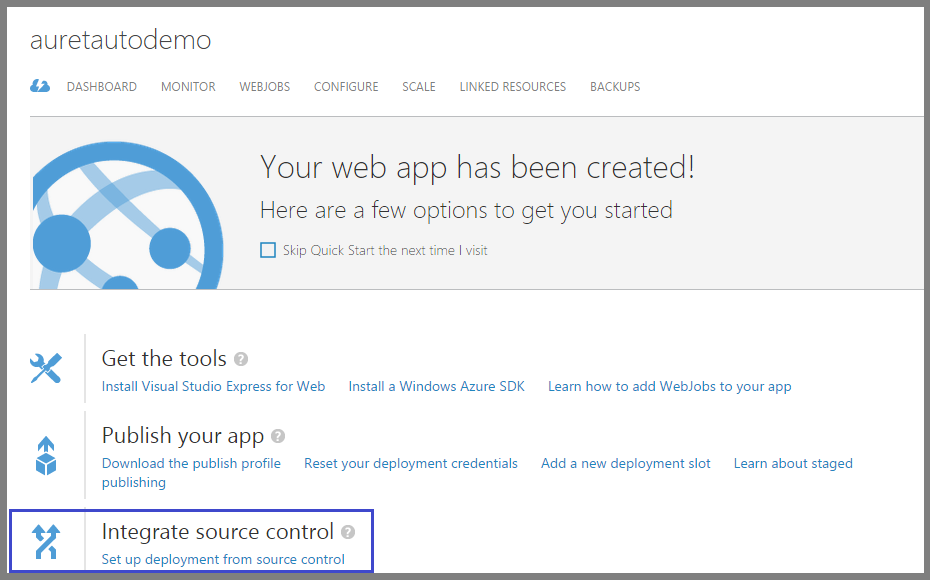
After we have created the web app or selected the web app of interest to use we can use Integrate source control option to set up the auto publishing functionality (as outlined in the image).
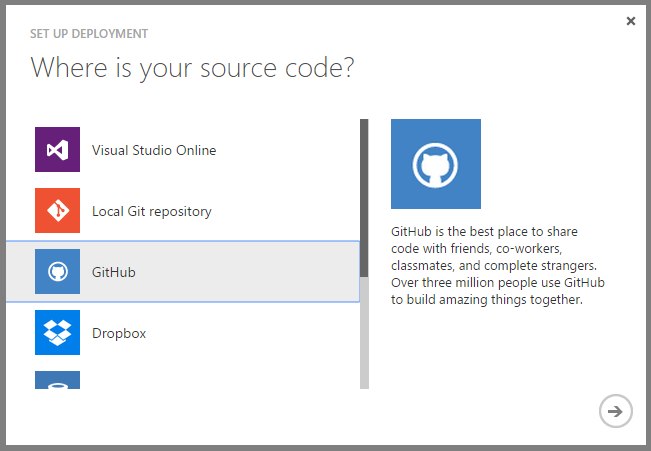
Once you select this option, you have a wizard to run through that will ask the following.
- Where is your source control? – This is the provider where your source code is stored, in our case it will be GitHub.
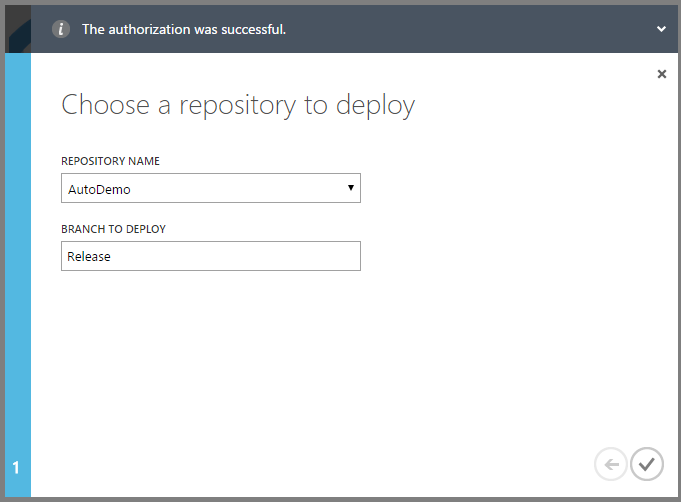
- It will then ask for authentication to the provider – This is the login details to your account on the selected provider.
- When using GitHub you have to choose the Repository and the branch of deployment. – In our case we will select the ‘auretautodemo’ repository and the ‘Release’ Branch.
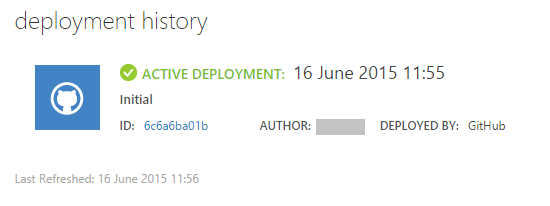
After these steps you will see a screen with deployment summaries, this screen will show you all the deployments that went through. It will pull the current commit and anytime you commit code to the Release branch it will automatically publish it to the Azure web app.
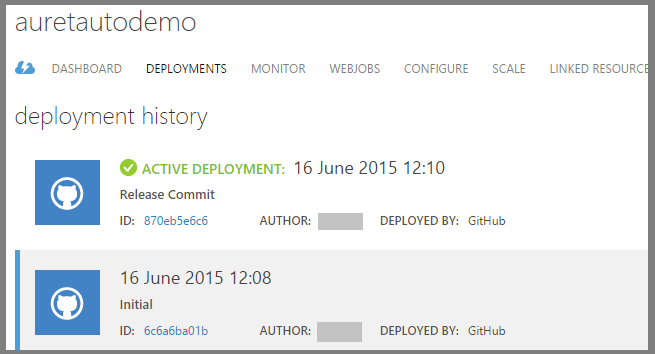
In my scenario, I made a change to the index page and made a commit into the Release branch to reflect the new changes. When this commit goes through, Azure will pull the commit and perform the deployment for you.
For more information, take a look at New Horizons' Microsoft Azure training courses.
How do your Excel skills stack up?
Test NowRelated Articles


About the Author:
Auret Swanepoel

As a recent addition to the New Horizons team, Auret is a highly skilled and qualified IT Technical trainer. He has been a Microsoft Certified Trainer (MCT) since 2008 and has since then, also become a Microsoft Certified Professional (MCP), a Microsoft Certified Technology Specialist (MCTS) and a Microsoft Certified Information Technology Professional (MCITP). With his international experience as a trainer in South Africa, Auret is able to adapt his teaching style to different audiences in the classroom and ensure that students are learning in a positive and collaborative environment.
Read full bio


Next up:
- Excelling in Excel
- 3 TED talks on habit
- How-to: Promote a Sub-Site to a Top-Site in SharePoint 2013
- Have you got bubbles?
- Mastering InDesign
- How-to: Add public holidays to a Microsoft Project 2013/2016 calendar
- What they don't tell you about becoming a manager
- The first tool of Power BI
- Use conditional formatting to create a Gantt Chart in Excel
- Reduce those pesky meeting request response messages in Outlook
Previously
- Excelling in Excel
- How to improve your business writing
- SQL Server 2016 – Row Level Security (RLS)
- Assertiveness in practice
- Working with Styles – Part 4
- Float workloads into the cloud with Microsoft Azure
- How-to: Install Windows 10 using the media creation tool
- I am merging traditional and digital selling – And it is working!
- What you did not know about the Excel SUMPRODUCT function
- How-to: Validate data based on the value of a different cell in Excel
